安装openSSH
默认sshd_config_default配置文件:sshd_config.txt
1.下载zip包
https://github.com/PowerShell/Win32-OpenSSH/releases
2.解压放到指定目录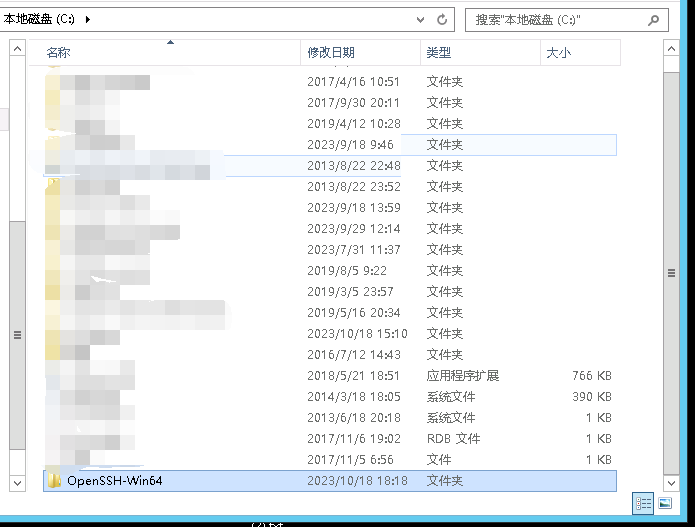
3.设置环境变量
如:C:\OpenSSH-Win64
注意 环境变量之间有英文下的冒号 ;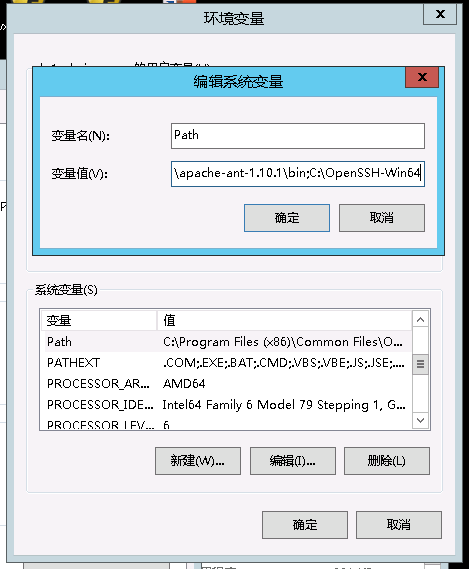
4.移动到OpenSSH文件夹,运行命令
5.创建配置文件
去C:\ProgramData 下创建 ssh文件夹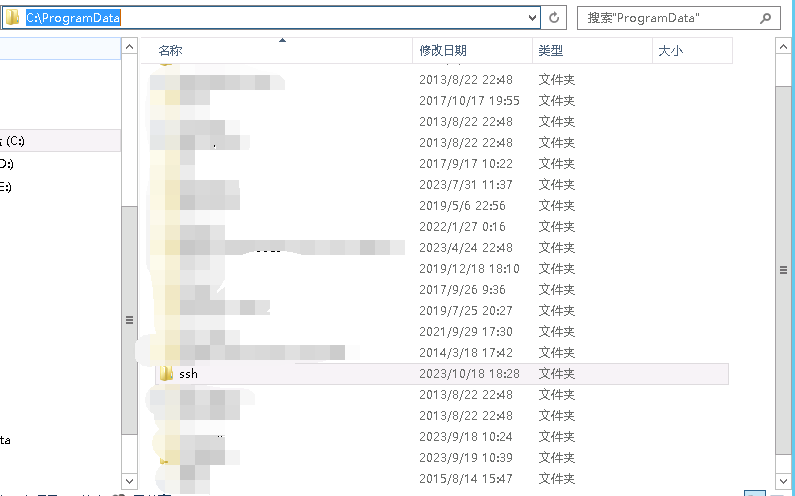
copy sshd_config_default为sshd_config的文件
关键参数
"#PubkeyAuthentication yes": 这个选项被注释掉了,表示使用默认值"yes",即允许公钥认证。
"#PasswordAuthentication yes": 这个选项被注释掉了,表示使用默认值"yes",即允许密码认证。
将#PubkeyAuthentication yes 设置为 PubkeyAuthentication no
#PasswordAuthentication yes设置为PasswordAuthentication yes
运行命令
6.打开openSSH服务并设置自启动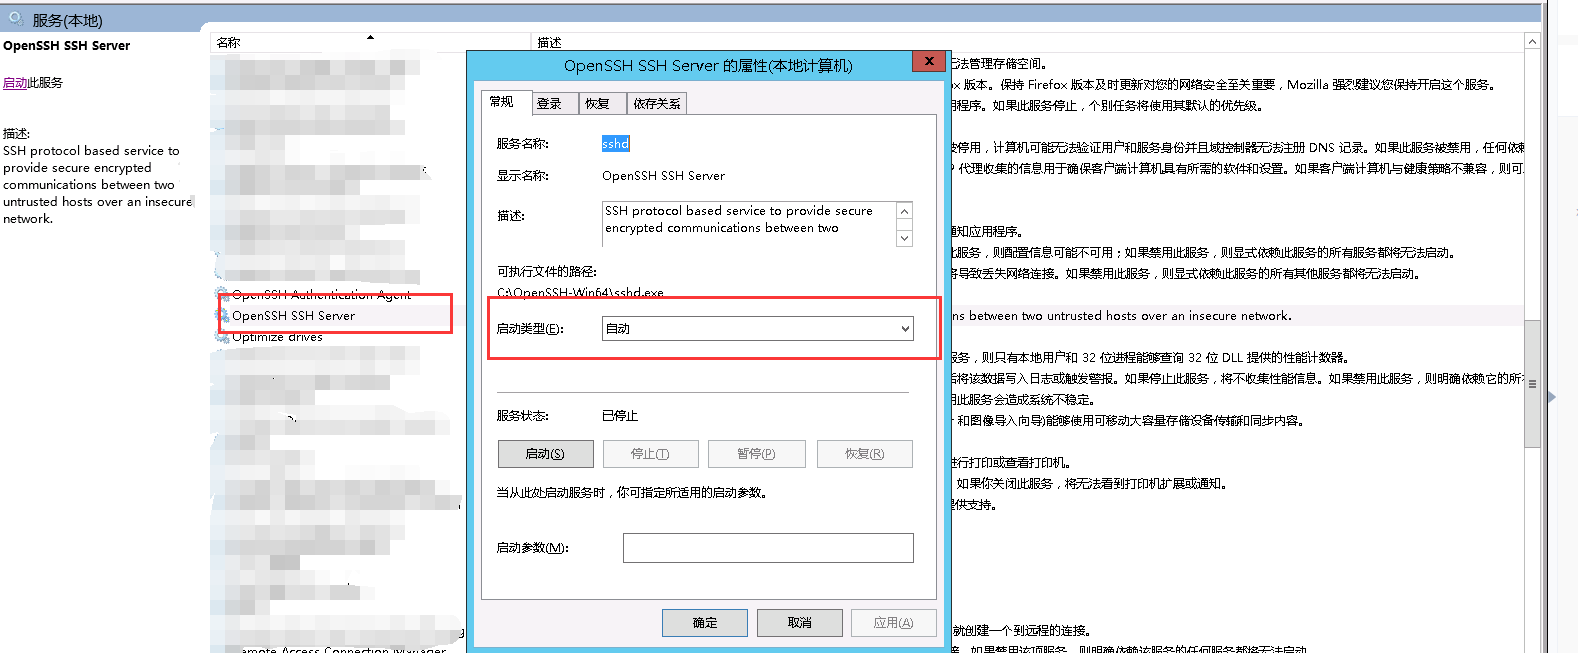
检查权限 .\FixHostFilePermissions.ps1
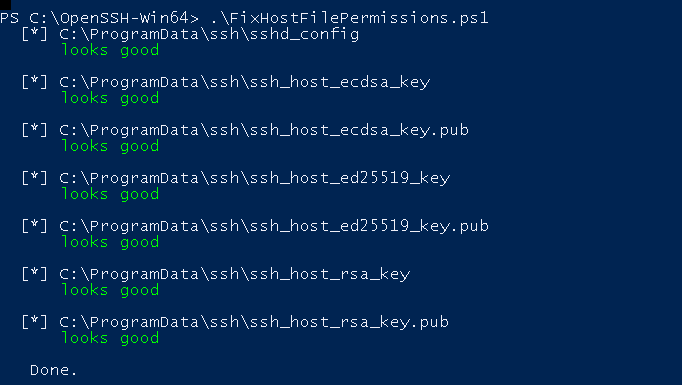
管理员cmd 执行 net start sshd
配置免密登陆
1.产生密钥
cmd ssh-keygen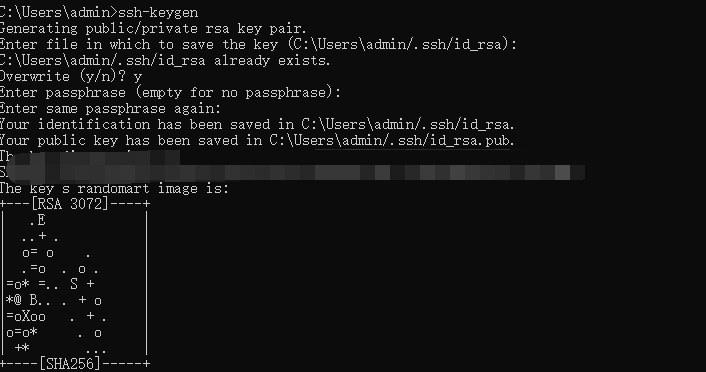
2.复制公钥到指定目录
linux
ssh-copy-id -i 配置文件同级目录administrators_authorized_keys root@0.0.0.0
windows
请手动复制id_rsa.pub到 openssh配置文件同级目录administrators_authorized_keys 中
3.更改配置文件sshd_config
将PubkeyAuthentication no设置为 PubkeyAuthentication yes
#PasswordAuthentication yes设置为PasswordAuthentication no
修复配置文件权限
在SSH安装文件夹下 powershell执行 .\FixUserFilePermissions.ps1 .\FixHostFilePermissions.ps1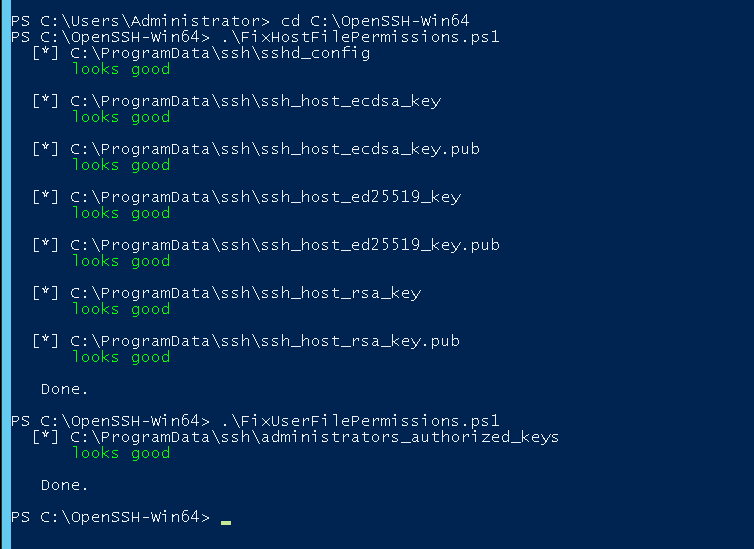
并cmd restart sshd
4.测试免密登陆
ssh 用户名@ip